PRODUCTION
Creating The Final Logo
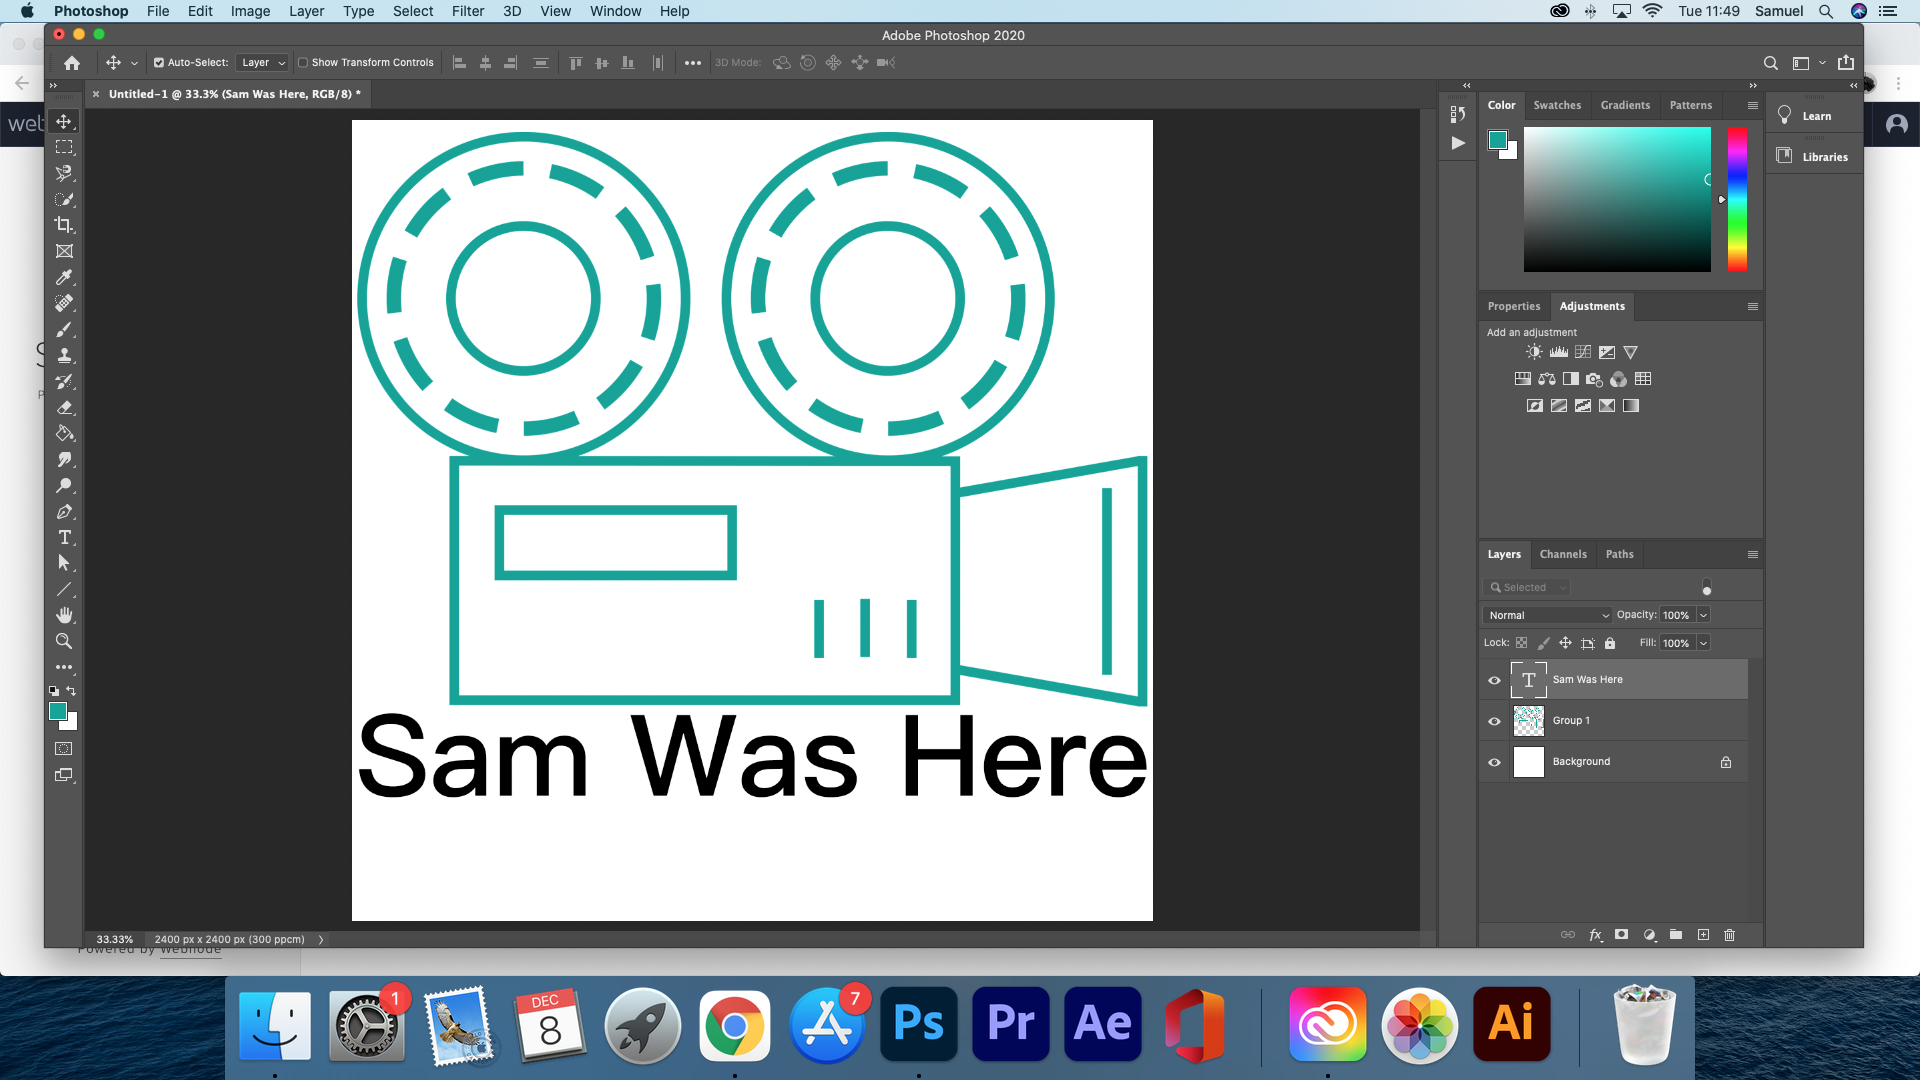
For the final piece, I used Adobe Photoshop and Adobe Illustrator. I created the design in Photoshop as I felt more comfortable using that than a new app that I have spent 30 minutes using. To create the design I used the same reference image, the shapes and pen tool. The design is nearly identical to the one I created in procreate other than sharper lines that stay the same thickness and a minor difference in the text with positioning and sizing. I then imported the PSD file into Adobe Illustrator to save as a vector file. This is a type of format which means that no matter the size of the image the quality will stay amazing with the sharp lines. One problem I had with this was the sizing of the circles. I used stroke at 30 for all the shapes to keep it all even but it was a lot thicker on the circles in Illustrator than Photoshop so I had to change them to 5 and 6. I felt that it would give a bit more detail if the inner circles were slightly thinner.

An attempt to add some extra detail which I didn't like. I also kept the whole camera for this version. I added the lines onto the reels so that I could animate the logo with the reels spinning.

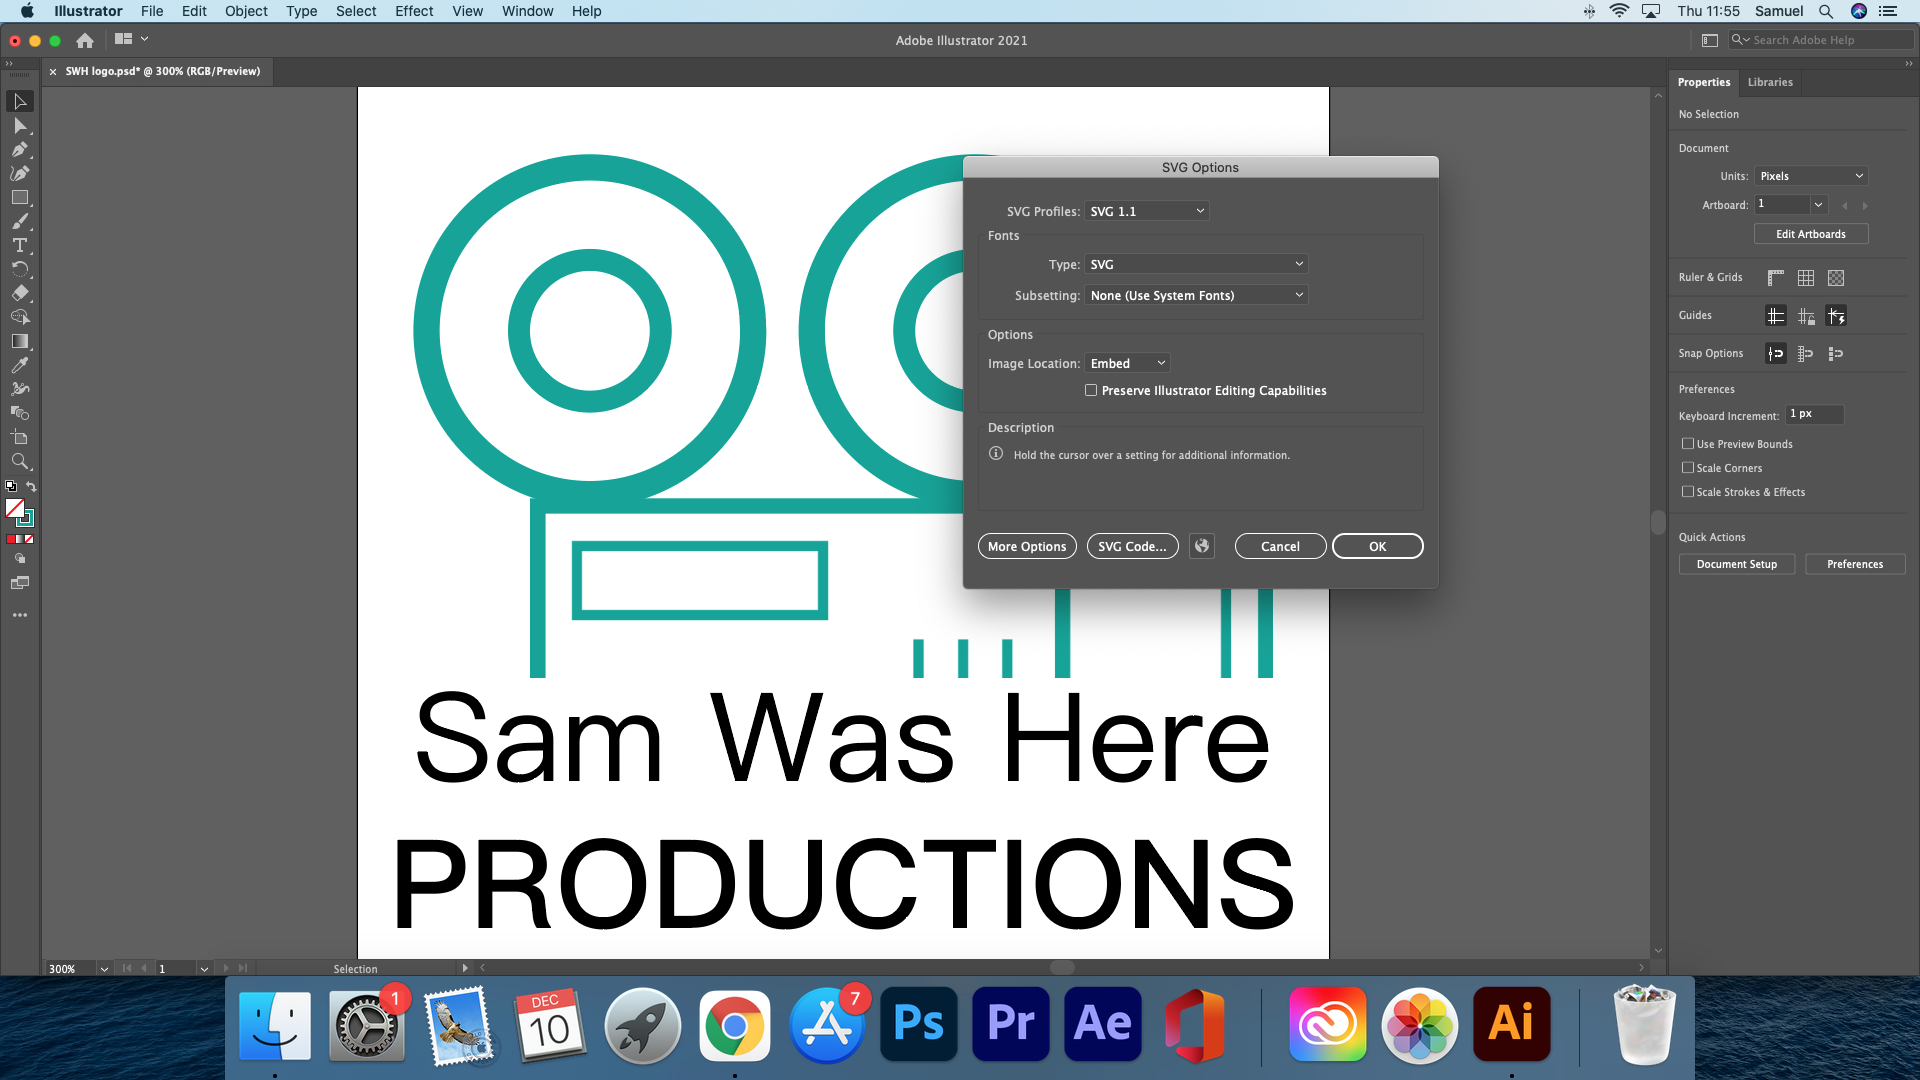
The settings I used to save as a Vector (SVG) that didn't actually work. It saved it with a different font so I had to use file > export > SVG.
The Final Logo
Here is the final version of the logo.
For whatever reason, the vector uses the wrong font and alignment when using a windows device. For the final design please use a mac.
Animated Logo
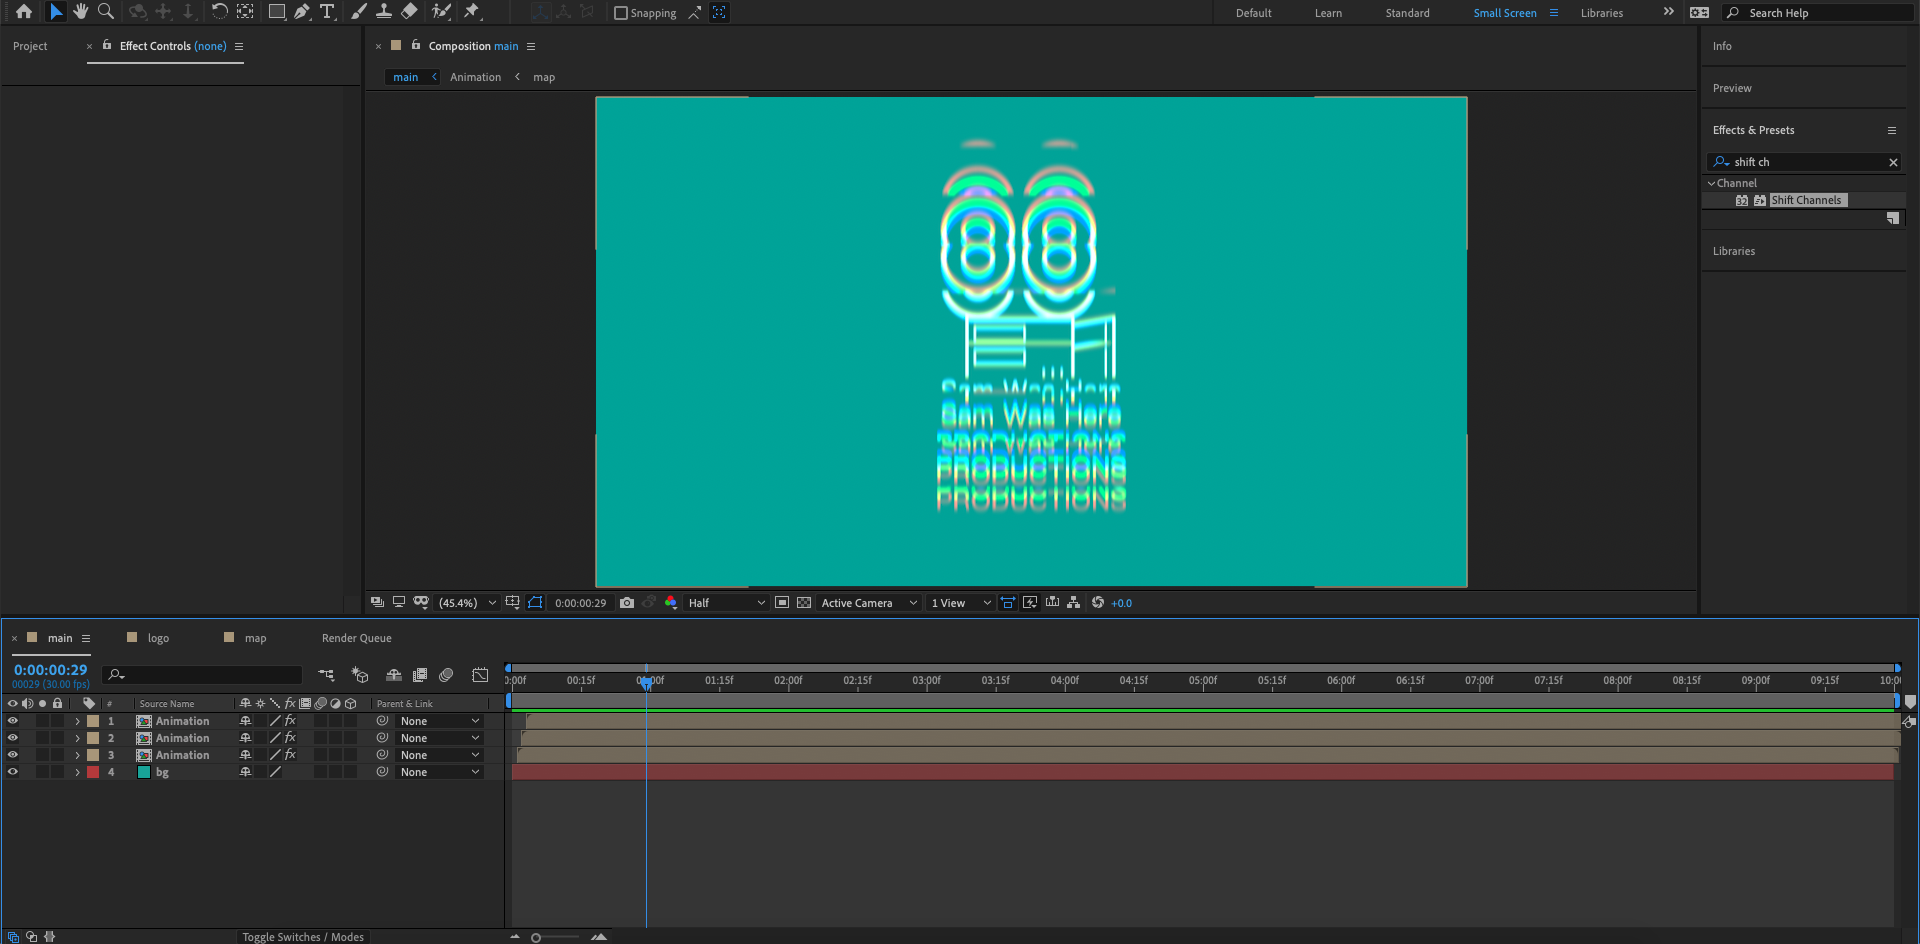
My final animation doesn't reflect my original idea for my animation. My original idea was to have the camera increase in scale then a trapezium shape would appear to the right to symbolise the camera turning on. I wasn't able to get this idea to work to a point that I loved so I went in another direction. I did use lots of different effects to create the design basing the animations off a few from YouTube. I added an element which was supposed to mimic 3D glasses with the 3 colours, I think this worked well to add a bit more to the animation.

Recorded Audio
I recorded this in the recording room before Christmas with Tom. I then cut it down to just the audio I wanted in Premiere Pro.
Recorded Screen Capture
I used QuickTime player for mac at home and was able to crop the recording before saving which was quite handy.
Walkthrough Video
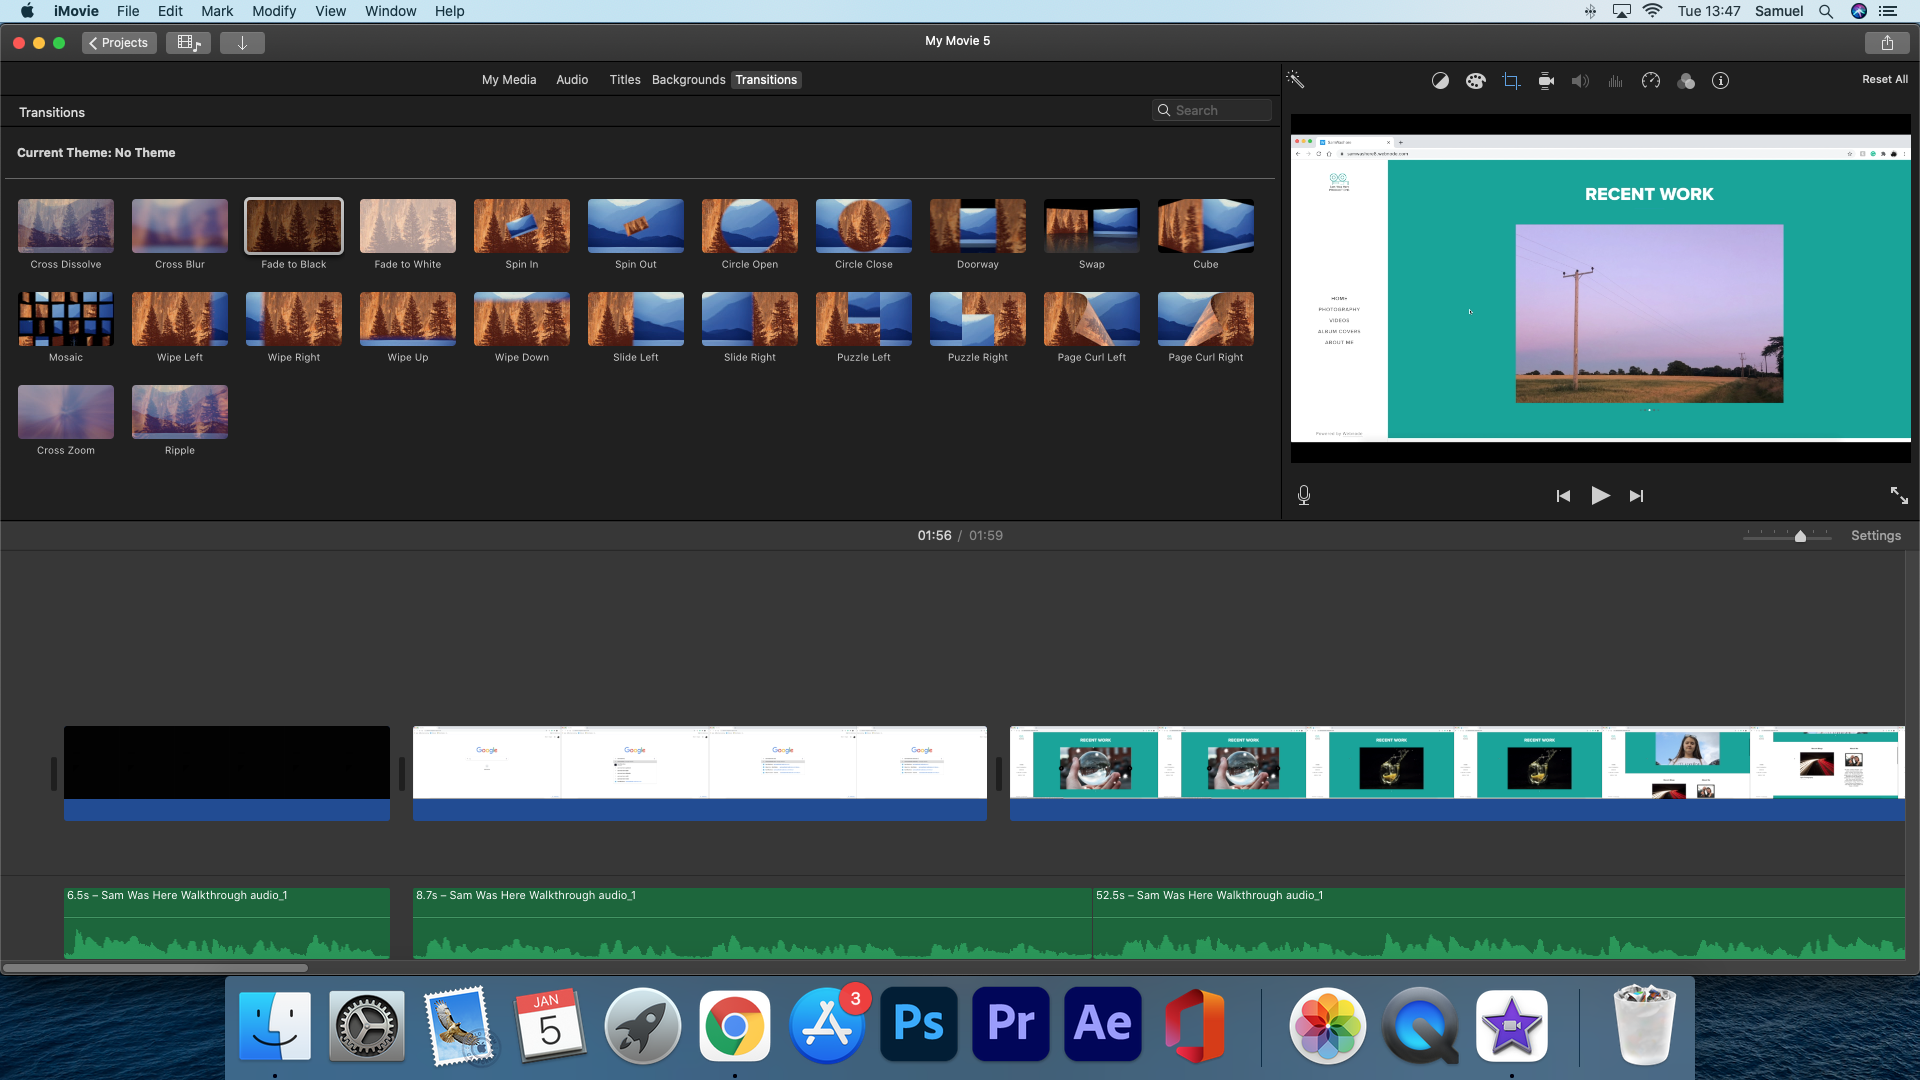
To make my walkthrough video I used my audio from premiere pro, the screen recording and some music. I encountered a problem when using the screen recording where it looks corrupted when using premiere pro. My only solution without spending along time was to use iMovie. I was able to export the audio (cut version) as a video and split it and only use the audio in iMovie which meant I didn't have to cut the audio again. I then added the screen recording, cutting it and slowing down a couple of parts to fit better to the audio. Due to iMovie being quite basic I had to export that file to then edit a new copy to add music as my recorded audio took up space.
I used Warm Nights by Lakey INSPIRED which is a copyright-free song that I found on Soundcloud. I struggled to find music that I thought fitted to the branding and theme of the video. I had looked at other music composers like Ehrling (I used his music in my "how to" video), DJ quads (I quite liked his music but I couldn't find a download for it) and David Cutter Music (known for drone style music for content creators like Simon Wilson and Casey Neistat, I looked the music but didn't fit what I wanted).

